
Rice Krispies Treats
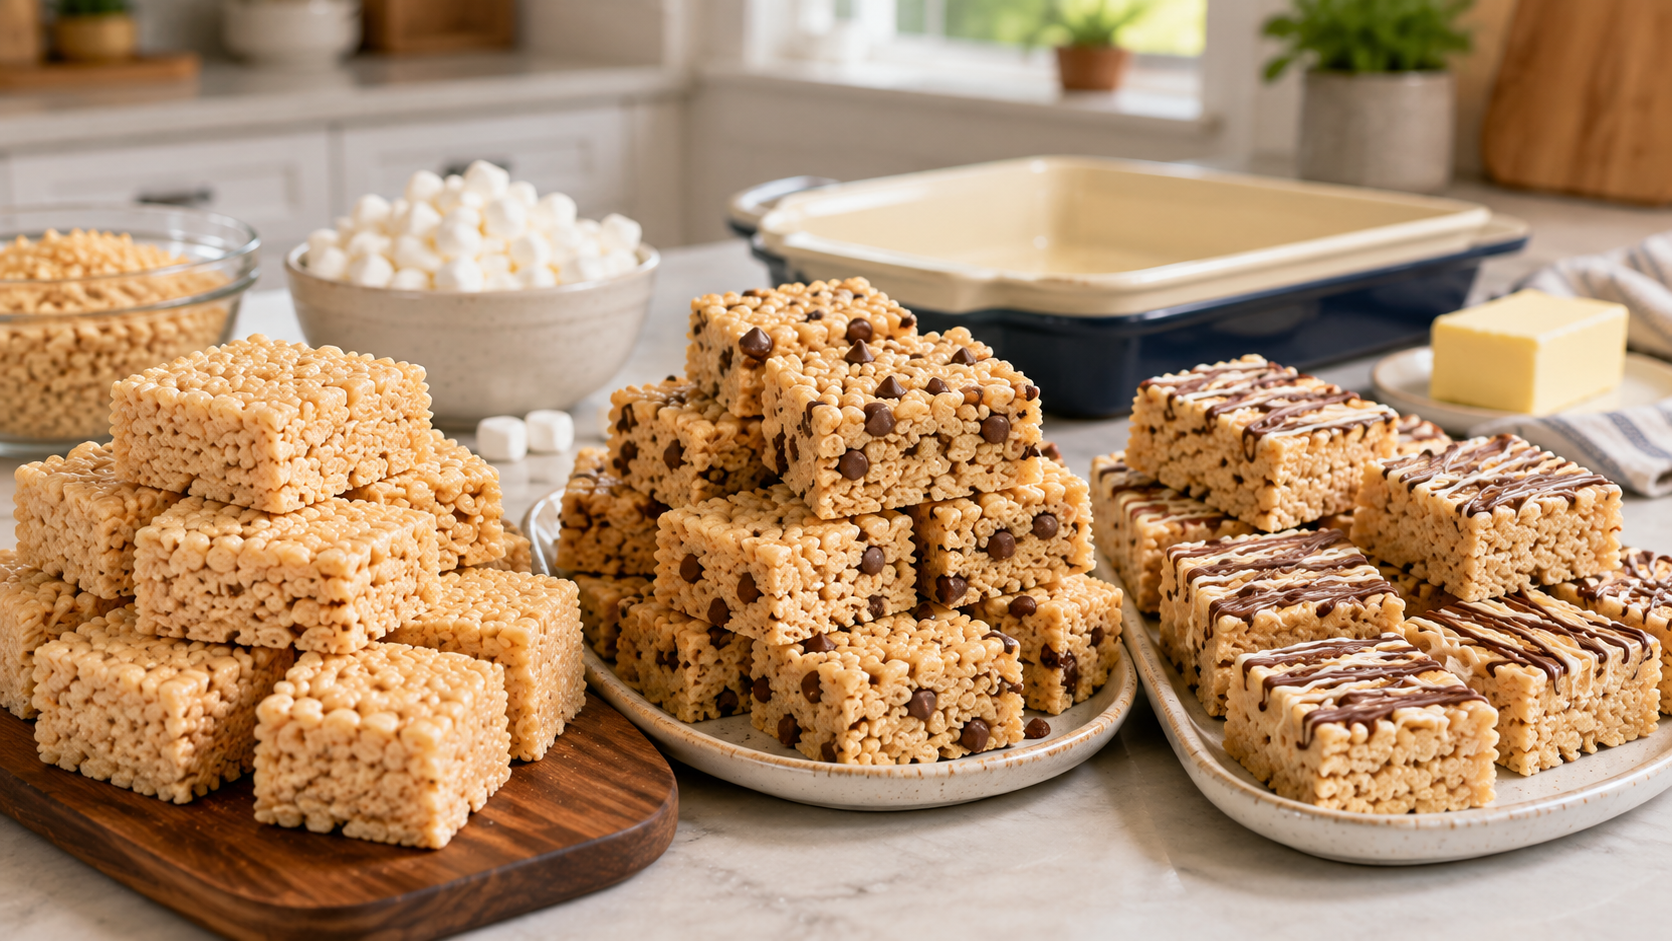
These classic Rice Krispies Treats are sweet, chewy, and crisp, with a touch of vanilla that adds extra warmth without changing their familiar old-fashioned flavor.
Prep
10 min
Cook
5 min
Temp
Stovetop – low heat
Yield
24 servings
Ingredients
- 5 tablespoons butter, plus additional butter for the pan and pressing tool
- 1 package (10 ounces) miniature marshmallows
- 1 teaspoon pure vanilla extract
- 7 cups Rice Krispies cereal
Instructions
 1
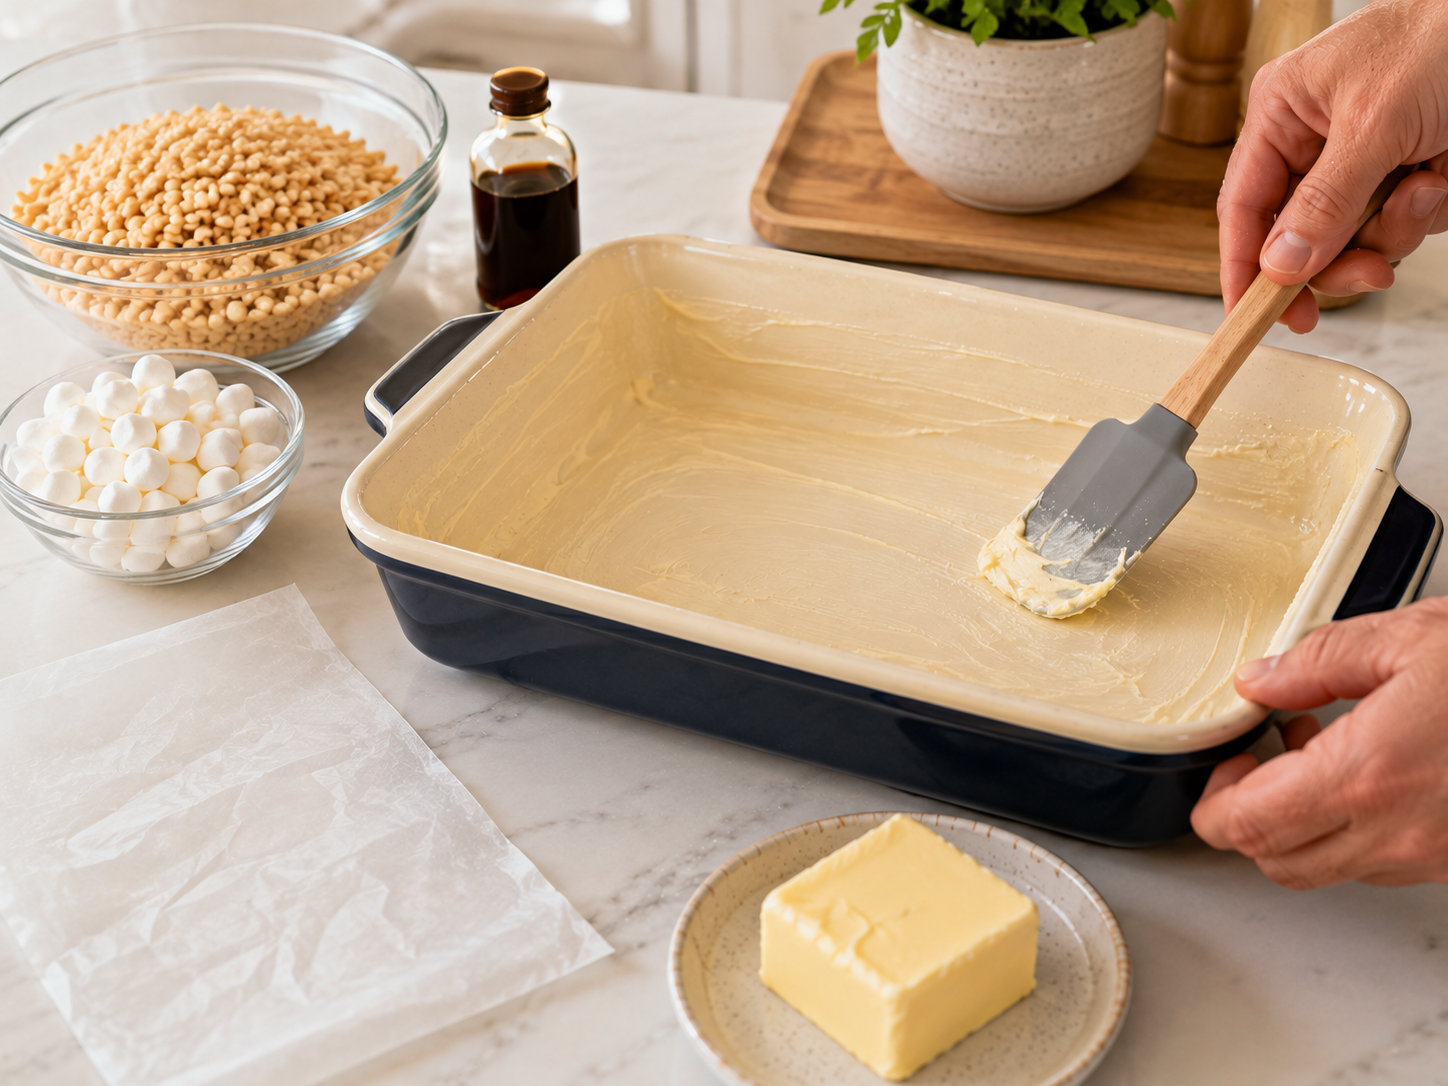
Lightly butter a 9 × 13-inch baking dish. Butter a spatula or prepare a piece of wax paper for pressing the mixture into the pan.
 2
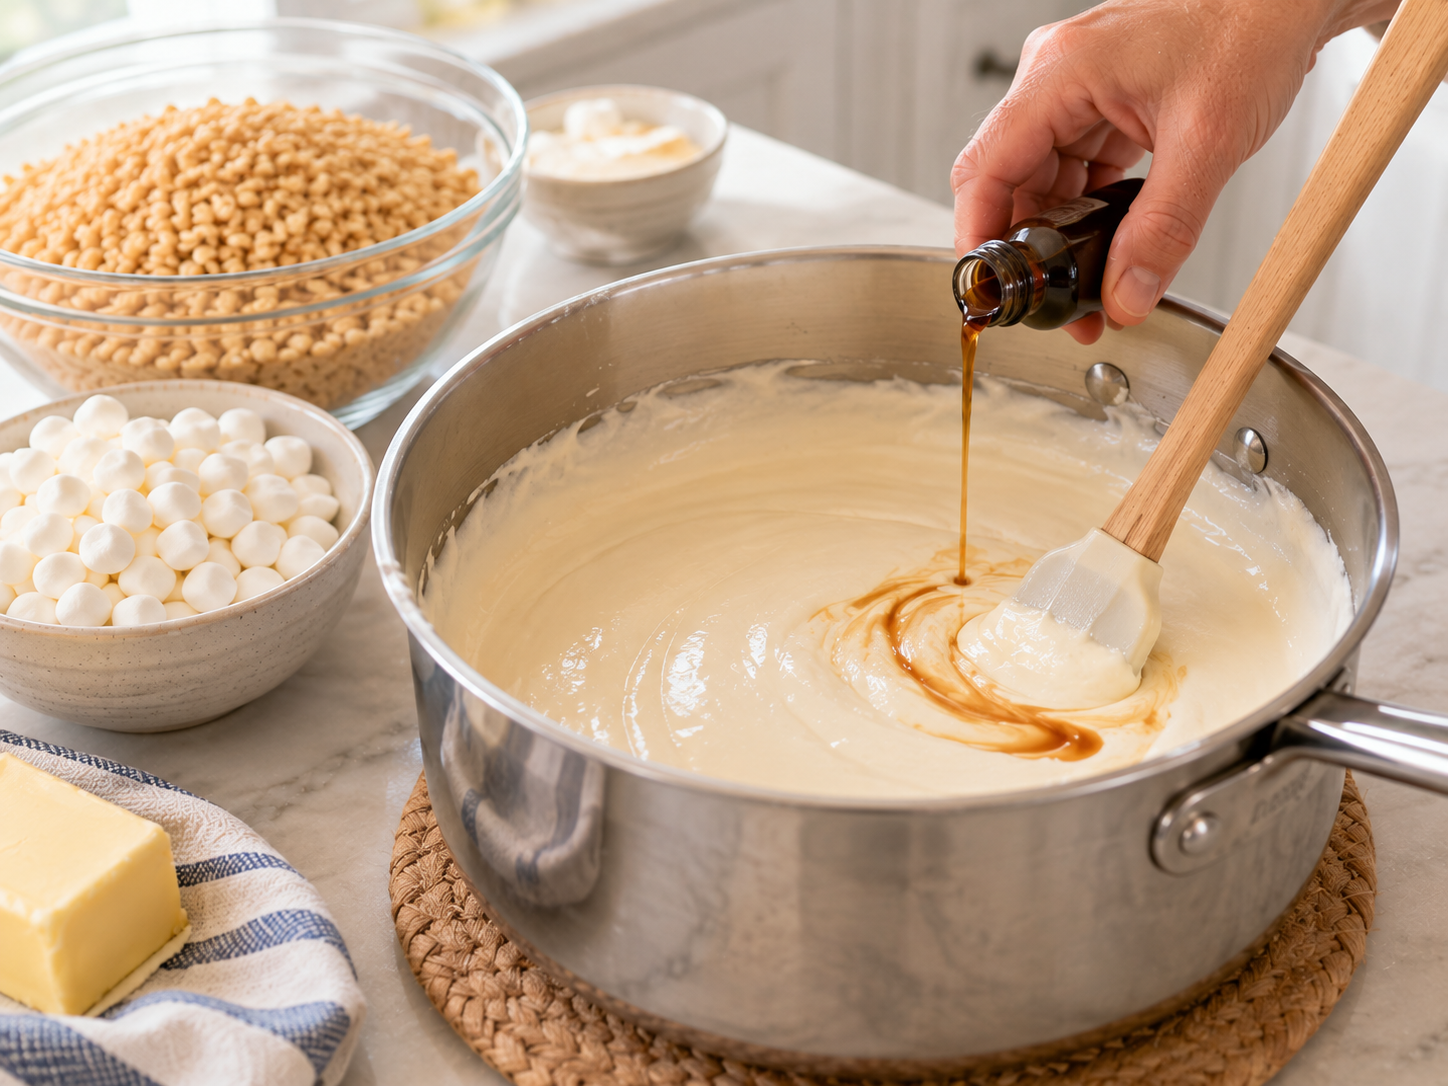
Melt the butter in a large saucepan over low heat. Add the marshmallows and cook over low heat, stirring constantly, until completely melted and smooth. Remove the saucepan from the heat and stir in the vanilla extract.
 3
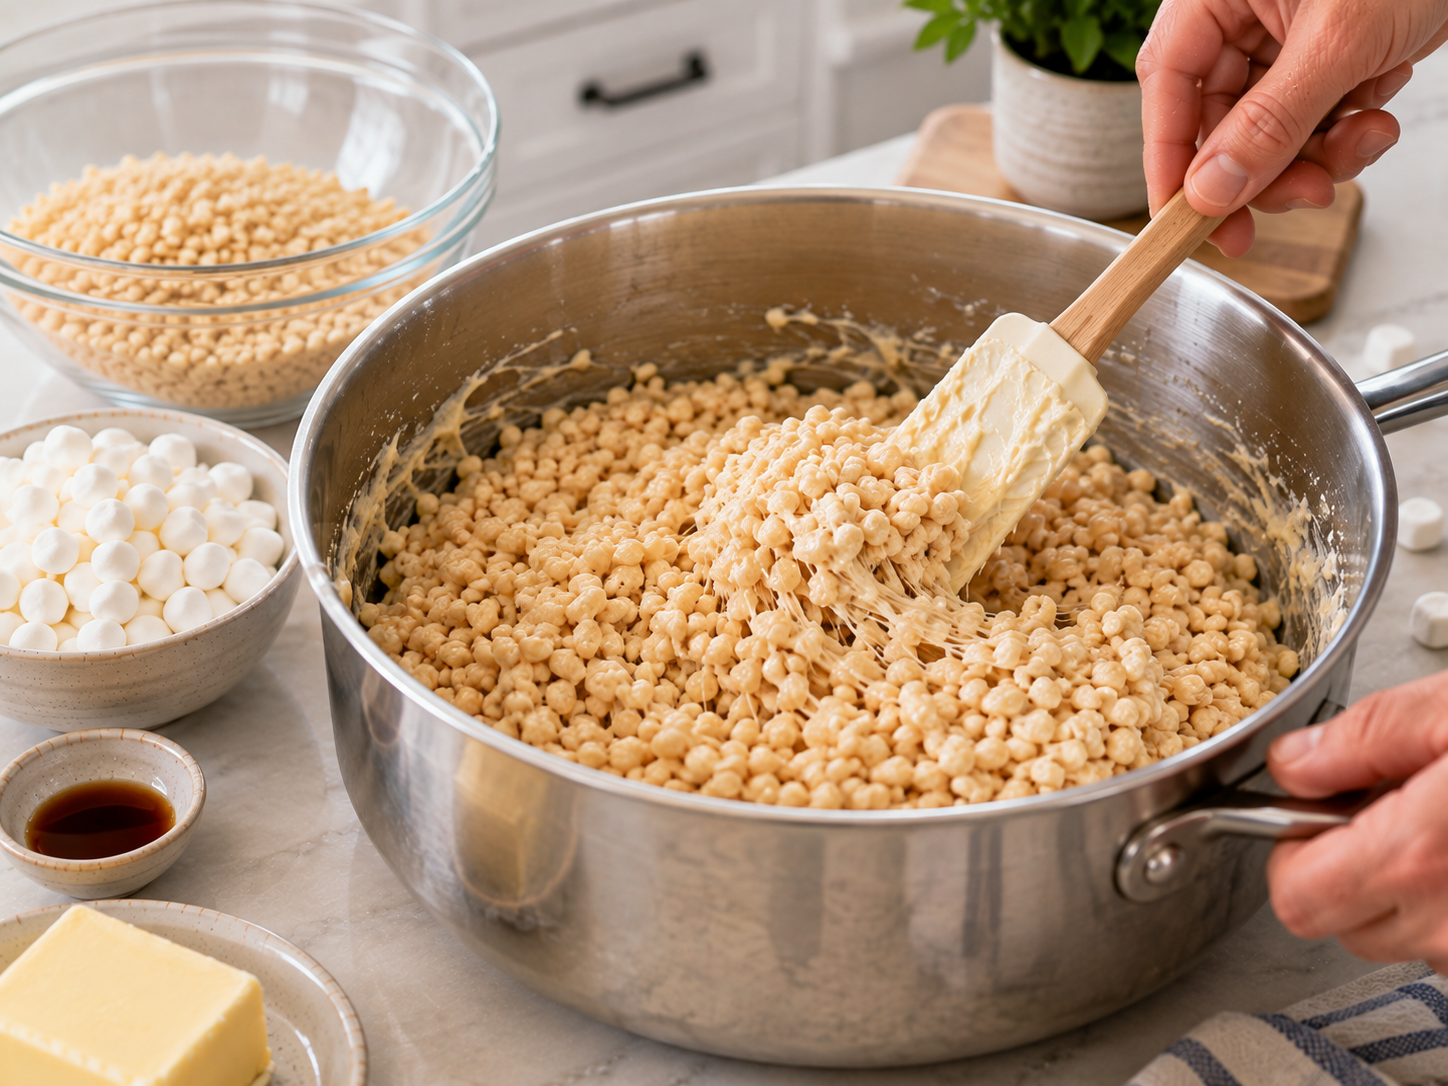
Add 3½ cups Rice Krispies cereal and gently stir until coated. Add the remaining 3½ cups cereal and continue stirring gently until everything is evenly coated with the marshmallow mixture.
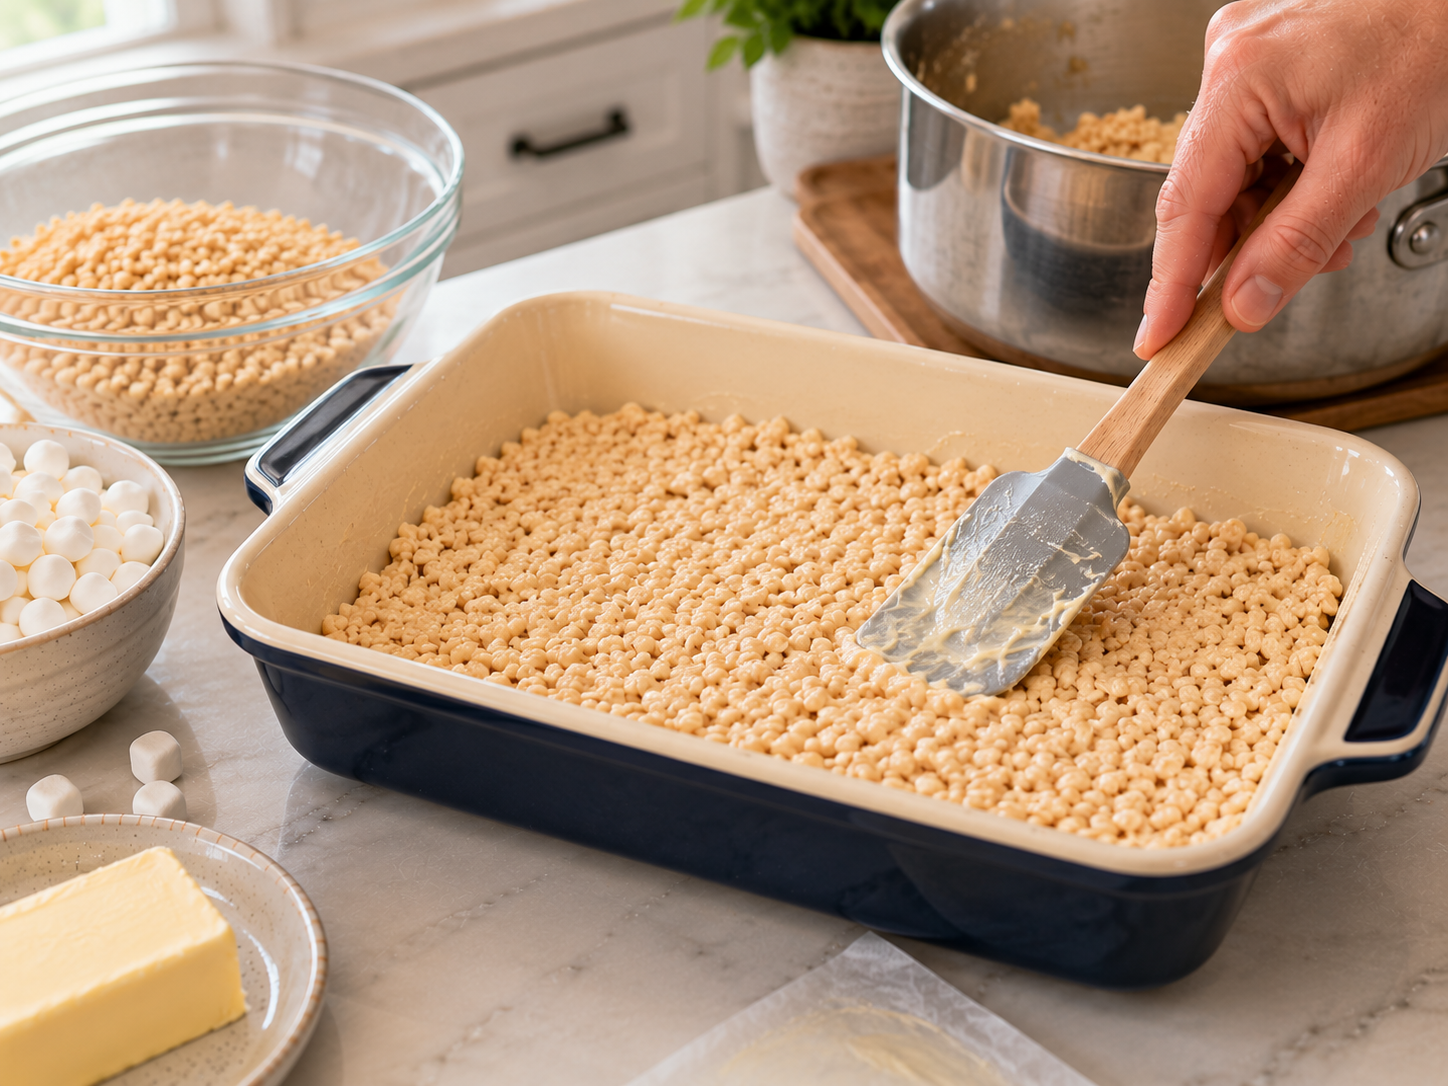 4
Immediately transfer the mixture to the prepared baking dish. Using the buttered spatula or wax paper, gently press it into an even layer without packing it down firmly.
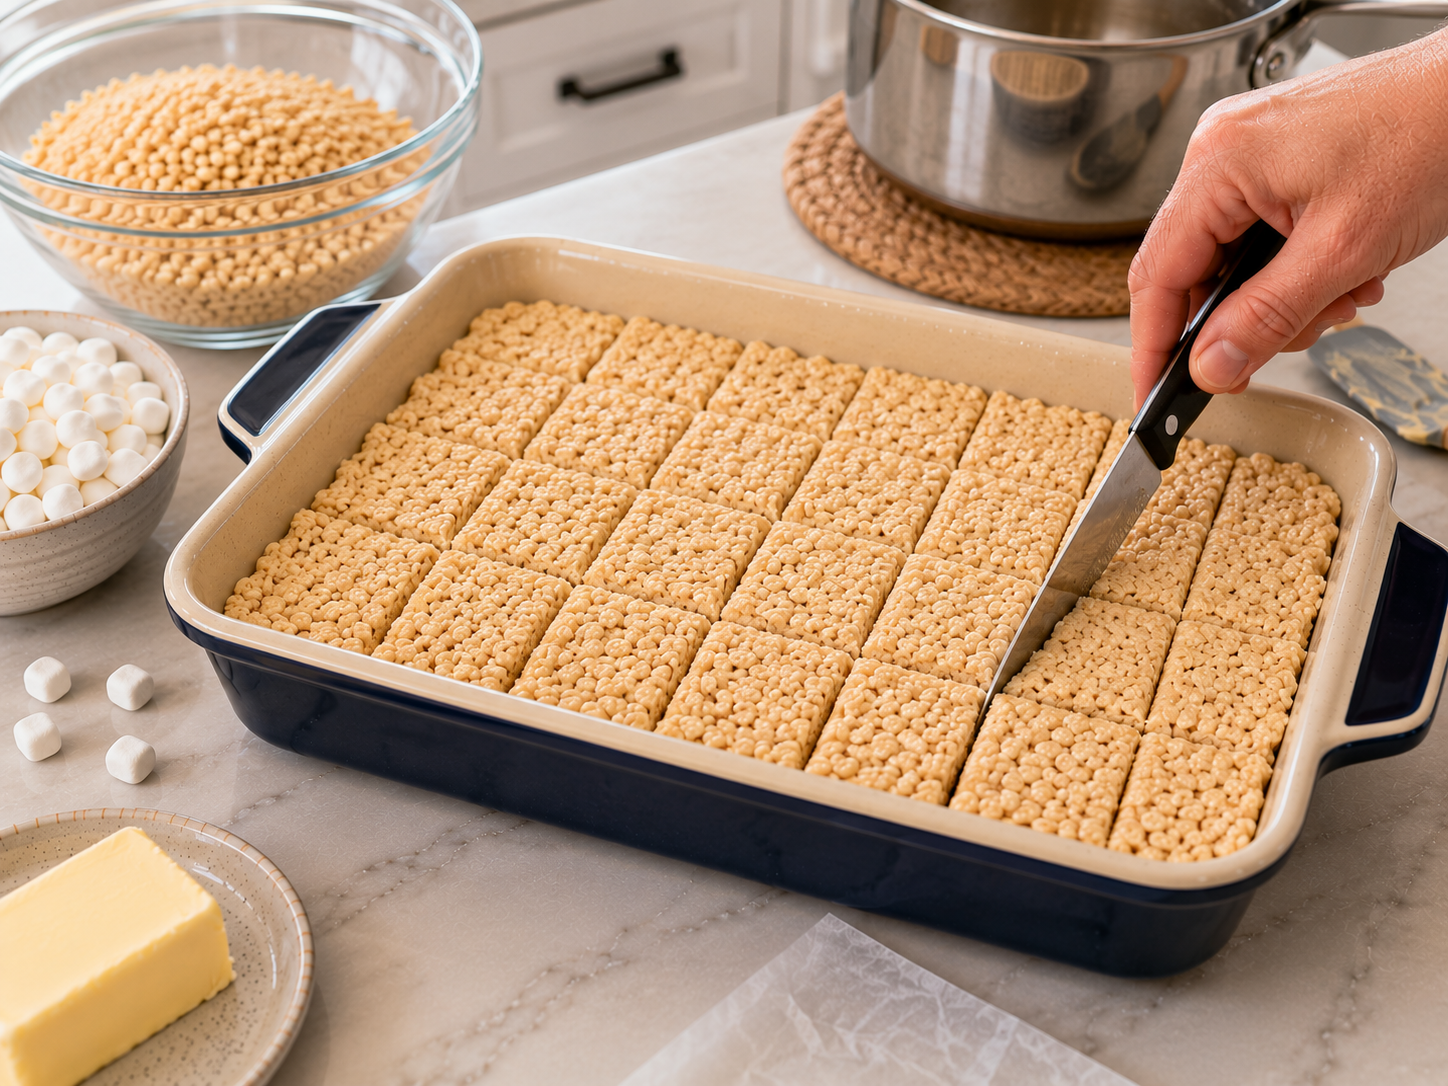 5
Cool at room temperature for about 30 minutes, or until set. Cut the pan into 6 columns and 4 rows to make 24 treats.
Tips & Variations
- Add Milk Chocolate Chips – Add 1 cup milk chocolate chips with the second 3½ cups of cereal and gently stir until the chips are distributed throughout the mixture.
- Chocolate Drizzle – Drizzle the cooled treats with melted milk chocolate, semisweet chocolate, white chocolate, or a combination of white and regular chocolate. Let the chocolate set completely before cutting.
- Add Festive Sprinkles – Gently fold in ¼ cup sprinkles just before transferring the mixture to the pan for an easy holiday or birthday variation.
- Peanut Butter Finish – Spread a thin layer of melted peanut butter chips over the cooled treats for a sweet, nutty topping.
- Cleaner Cuts – Lightly butter the knife before slicing and wipe it clean between cuts to keep the edges neat and prevent sticking.